BRANDED PRODUCTS & PACKAGING
Custom Metal Logos, Plates & Emblems for Branded Products
Metal logo plates, emblems and lettering made from your existing artwork or sample. Define the finish, visible details and mounting requirements so the approved part can serve as a clear production reference.
Material choice alone does not define the result. The lettering, edges, reflectivity and fit need to work with the product or packaging around them.

Choose the Construction Around the Brand Detail
Start with how much background, depth and separation the logo needs. Then review the material, surface and mounting arrangement.
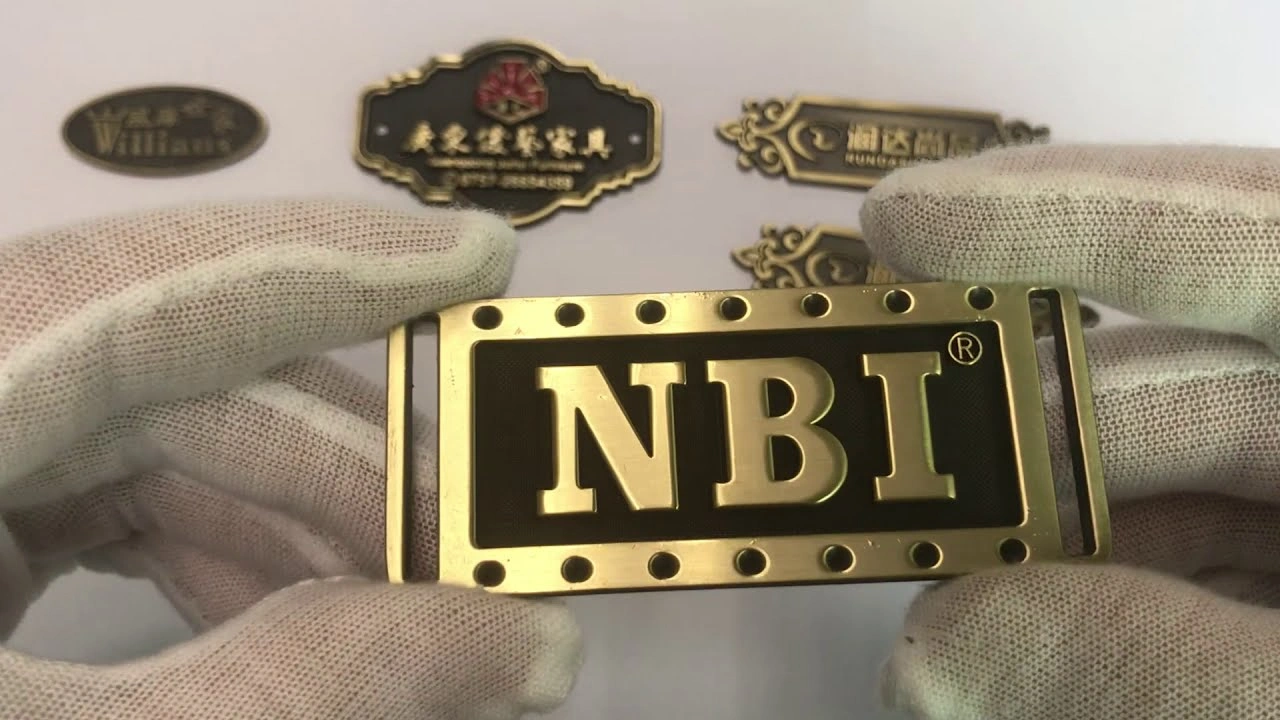
Metal Logo Plates
Consider a plate when you want a defined background, a framed mark or one part to position during assembly. Confirm the outline, border, thickness and any recess in the product or packaging.

Metal Emblems & Badges
Consider an emblem when the shaped outline, raised face or back profile is part of the intended appearance. Check the side view and mounting space as well as the front design.

Metal Stickers & Transfer Parts
Consider a thin metal logo or separate letters when the product surface should remain visible between the elements. Review small isolated details, contact area and the transfer method on the intended surface.
Raised lettering, a metallic color or a thin profile does not identify the complete construction on its own. Review the part as it will be supplied and installed.
Turn the Appearance Target into an Approval Reference
Words such as gold, satin or polished are not enough to define a reflective surface. Agree the physical reference and the features that matter before approving production.
| Feature | What to Define | Why It Matters |
|---|---|---|
| Color and reflectivity | Physical reference, substrate, gloss and nearby parts | Similar color names can look different across materials and finishes |
| Texture and direction | Brushing direction, surface pattern and installed orientation | The same part can appear different when the texture or viewing direction changes |
| Lettering and spaces | Stroke shapes, gaps, small isolated elements and intended final size | Fine details need to be assessed as complete geometry, not only by one minimum line-width value |
| Edges and borders | Visible faces, corner treatment, border width and acceptable edge appearance | Polishing and finishing can change how sharp or rounded a detail appears |
| Surface acceptance | Viewing conditions, reference sample and agreed limits for visible marks | “Perfect finish” or “no defects” is not a complete inspection instruction |
Keep the approved reference identifiable by part number and revision. Where an appearance range is needed, agree how the acceptable variation will be represented and assessed.
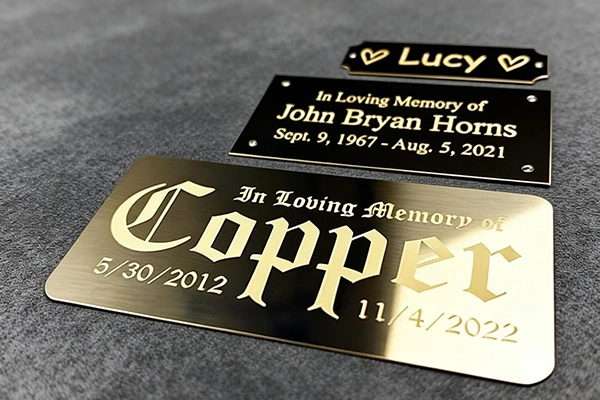
Close-up of metal lettering, border edges and surface texture.
Review the Material and Fit Together
Choose the material for the required shape, finish, weight and mounting surface. A more expensive metal does not automatically produce a better result.
Natural Metal or Applied Color
Decide whether the actual metal appearance is important or whether the goal is a particular surface color. For copper or brass, define the delivery finish, any protection and the changes intended during use.
Depth, Weight & Overall Profile
Review the front shape, back profile and installed projection. Confirm the available space and how the part is supported rather than selecting a material only for a heavier feel.
Contact Surface & Attachment
Identify the actual coating, wrap, film, fabric or other surface that the part will contact. Check the bonded area, curvature and assembly access. Adhesive suitability must be assessed against the specific surface and application method.
Combined Finishes & Small Details
For parts combining textures, colors or polished areas, identify where each finish starts and ends. Confirm whether processing changes the border, lettering or transition areas that are important to the artwork.
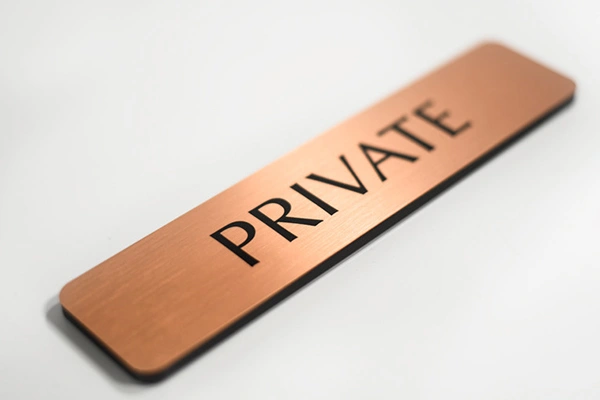
Side view of a metal branding part and its mounting surface.
Keep Approval and Delivery on the Same Basis
The approved part, installed result and protective packing each need a clear reference. A sample photograph alone does not define every acceptance requirement.
Artwork & Physical Sample
Confirm the artwork revision, dimensions and agreed appearance reference. Review the physical sample where reflectivity, texture, edge shape or color cannot be judged reliably on screen.
Installed Appearance & Fit
Check the part on the intended product or packaging. Confirm orientation, position, gaps, visible edges and any carrier-removal or fixing step.
Protection During Assembly & Transit
Identify the faces that must not rub against other parts or packaging. Agree separation, handling and any removable protection with the assembly method, checking that removal does not affect the finish.
Repeat-Order Changes
Before a repeat run, review changes to the artwork, material, finish reference, mounting surface or packing. Do not assume that an unchanged logo covers changes to the rest of the construction.
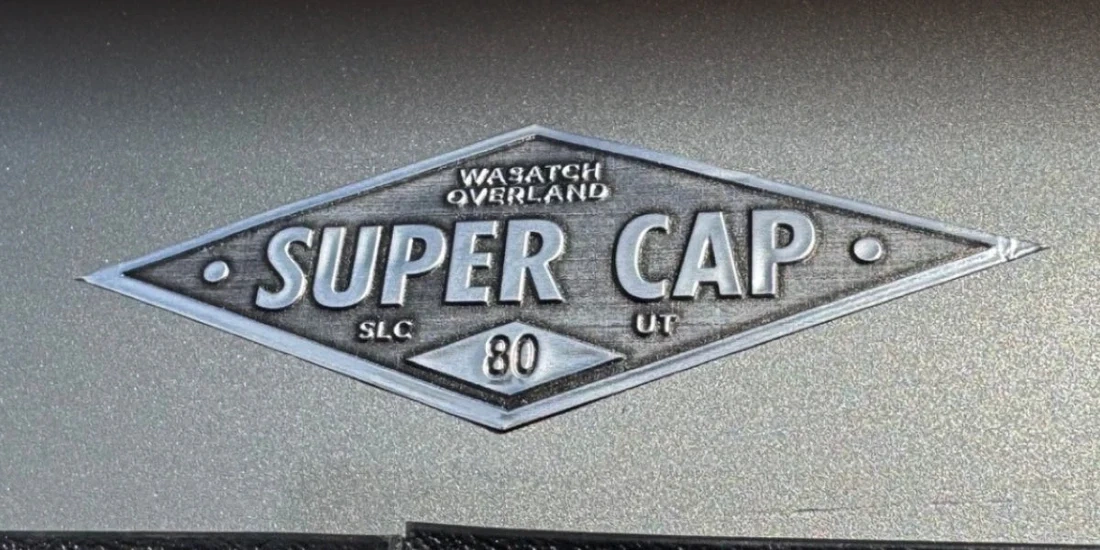
Metal branding parts separated to protect their visible faces.
Branded Metal Component FAQs
Can a color code fully define the finish?
No. Use the color code as a starting reference, then review the result on the selected metal and finish. Reflectivity, texture, nearby materials and viewing conditions affect the appearance, so a physical sample may be needed.
Can every fine detail in the artwork be reproduced?
Review the artwork at the finished part size. Narrow strokes, spaces, isolated elements and edge shapes respond differently to manufacturing and finishing. Confirm any changes with your team before using the artwork for production.
How can repeat orders follow the approved appearance?
Keep an identifiable reference sample, artwork revision and agreed acceptance requirements. Review changes to materials, finish, mounting or packaging before the next run. These controls do not mean every reflective surface will be visually identical under all conditions.
Do numbered metal plates provide product authentication?
A number or code can be manufactured from your approved data, but a marking alone does not authenticate the product or provide an anti-counterfeiting system. The intended numbering and verification arrangement remains part of your program.
Can you start from an existing physical sample?
Yes. Send clear photos and the required size and quantity first. A physical sample may be needed to review the finish and fit; dimensions, artwork and acceptance requirements are confirmed before manufacture.
Review Your Metal Branding Component
Send the existing artwork or sample photos, intended size and quantity. Include the mounting surface and any physical finish reference the part should match. Identify the visible details and assembly requirements that matter most to your product.
You can also request a sample to check the finish, fit and installed appearance.
